Getting started with Progress-up uploader
Progress-up is a simple file uploader easy to setup. It fetches files from local disk, and uploads them to the final destination.
It’s very simple to integrate with your existing application and lets you think about more important problems than building a file uploader. 😄
Progress-up has various plugins for web development frameworks for easy integration and quick setup.
It can also be used standalone. Check the demos below.
Here’s the simplest example html page with Progress-up (it uses a CDN bundle, while we recommend to use a bundler, see Installation):
Drag and drop, preview for most file types, simple filters based on size and MIME type are all available.
Installation
Progress-up can be setup by including it in a script tag with some CSS and HTML templating.
Angular
	$ npm install progress-up-angular
# or
	$ yarn add progress-up-angular
Vue 3
	$ npm install progress-up-vue
# or
	$ yarn add progress-up-vue
React.js
	$ npm install progress-up-react
# or
	$ yarn add progress-up-react
Svelte
	$ npm install progress-up-svelte
# or
	$ yarn add progress-up-svelte
Banned files
Once you determine the MIME filters and size limitations by configuring in the setup tab then the files that are chosen for upload that do not match the criterion are marked as unavailable for upload by marking them in red. Please check screenshots below for an idea how they look.
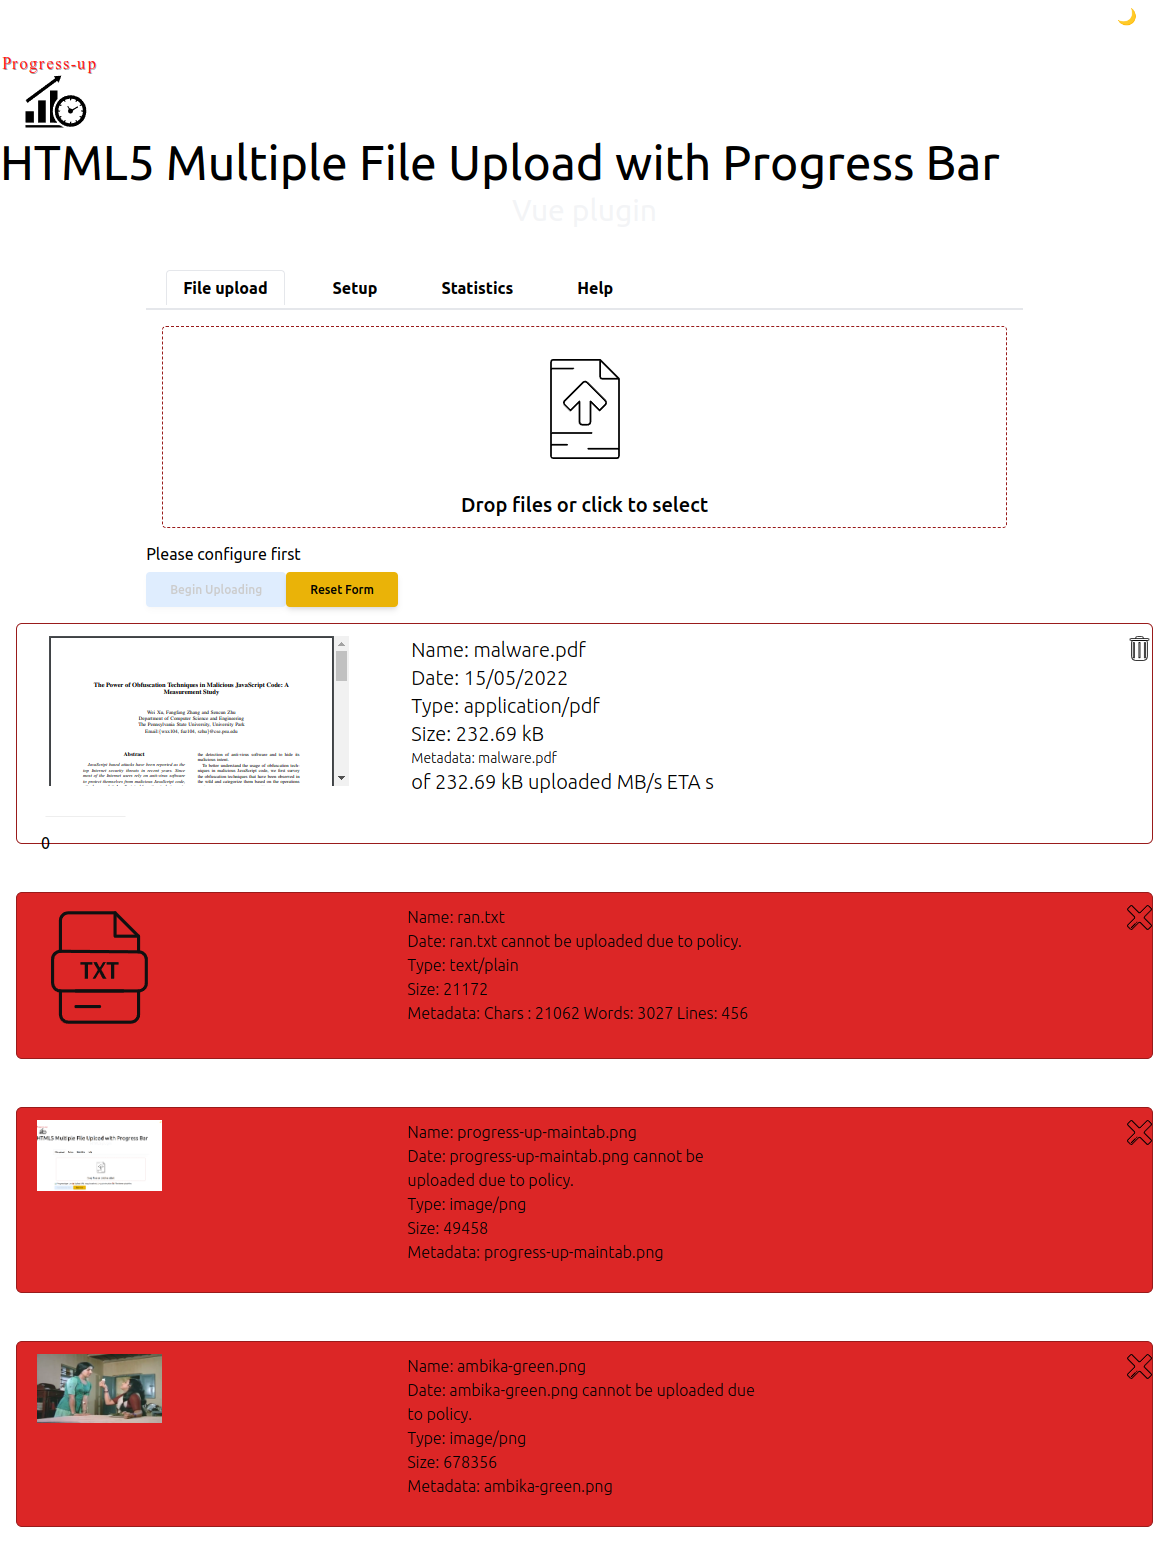
Banned files
These files are left out whilst uploading but the previews are shown just like a normal file scheduled for upload.
The tabs in progress-up UI
The Upload tab
This is just a drag and drop and upload area. Underneath a line shows the vital parameters that are needed for upload with two buttons.
- Begin uploading
- Reset form
The items shown in the line are the progress indicator(one of the 10 choices) and the upload URL and files array name.
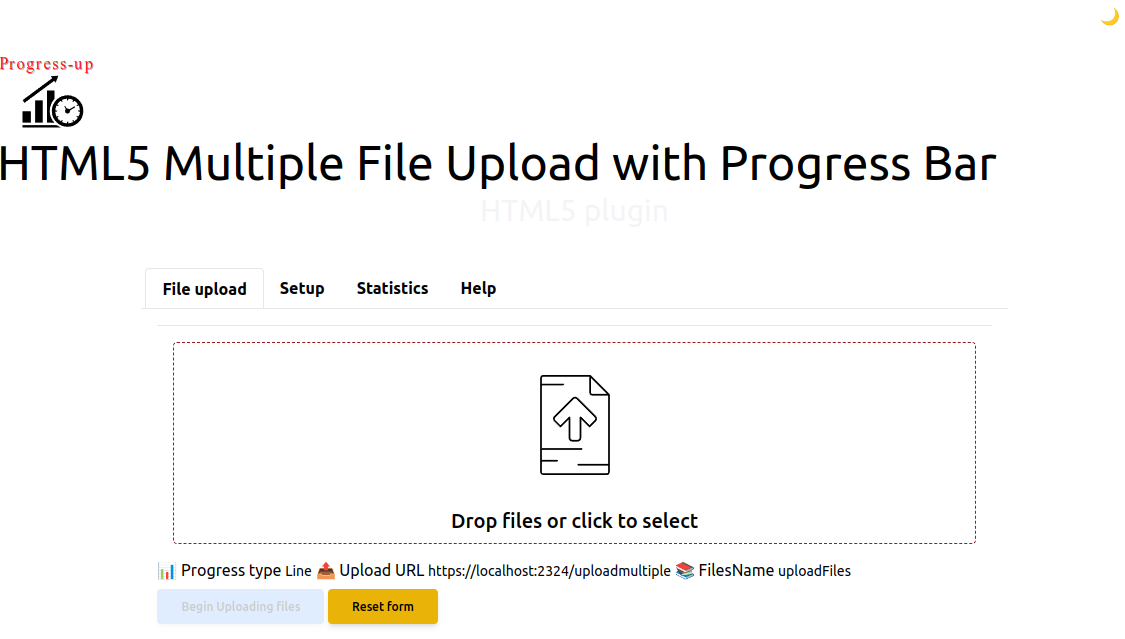
Main tab
The Setup tab
The setup tab is the most important tab for configuring progress-up.
You can setup the MIME and size filter along side the upload URL, the files array and progress indicator.
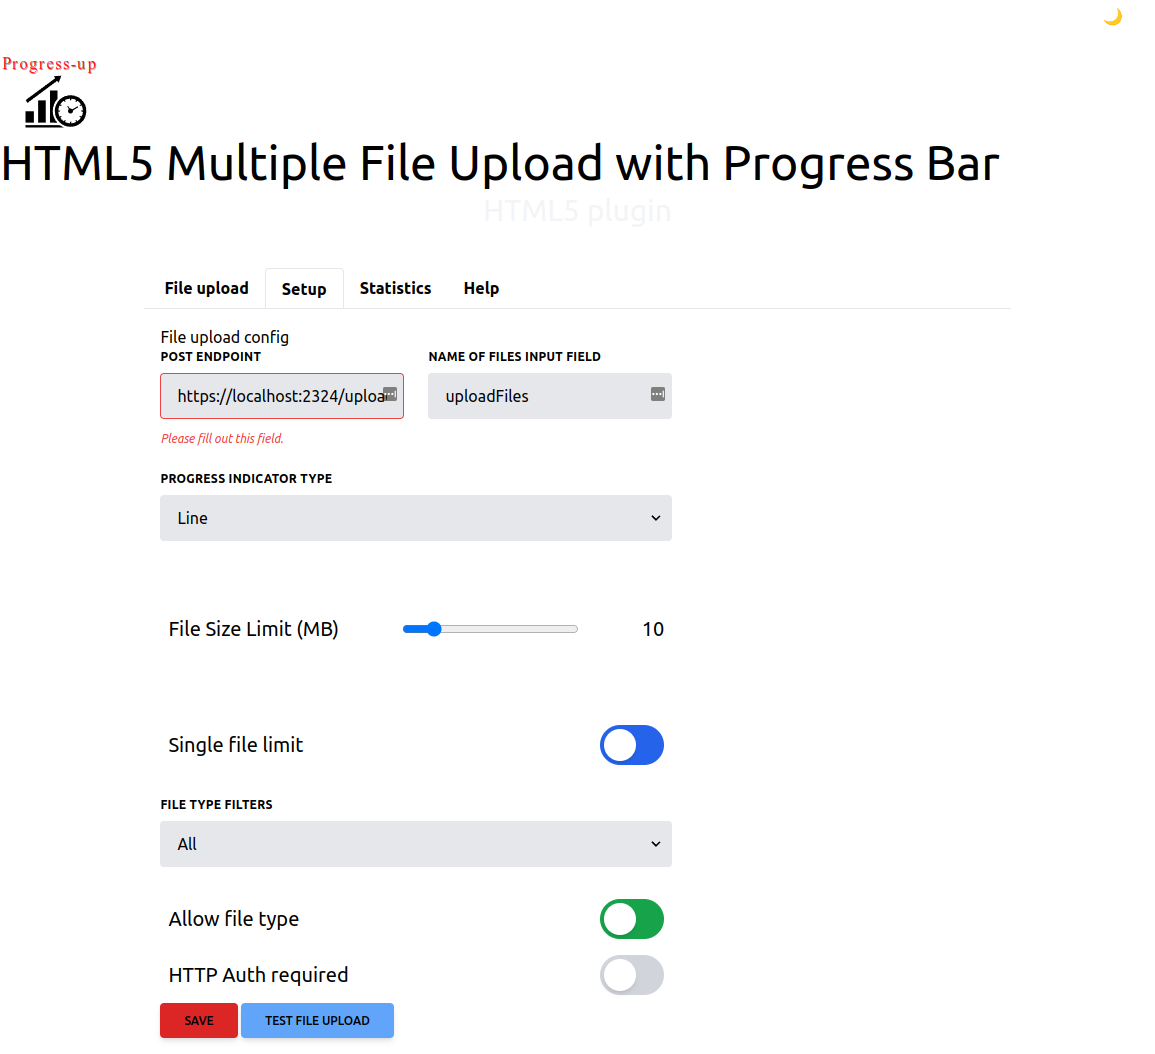
Setup tab
The Stats tab
The stats tab is used for showing the statistics of an upload session.
These do not go away when you click at the reset form in the upload tab.
The statistics are collected for each session to tell you the details of each upload operation.
The number of files successfully sent, the time taken and other details.
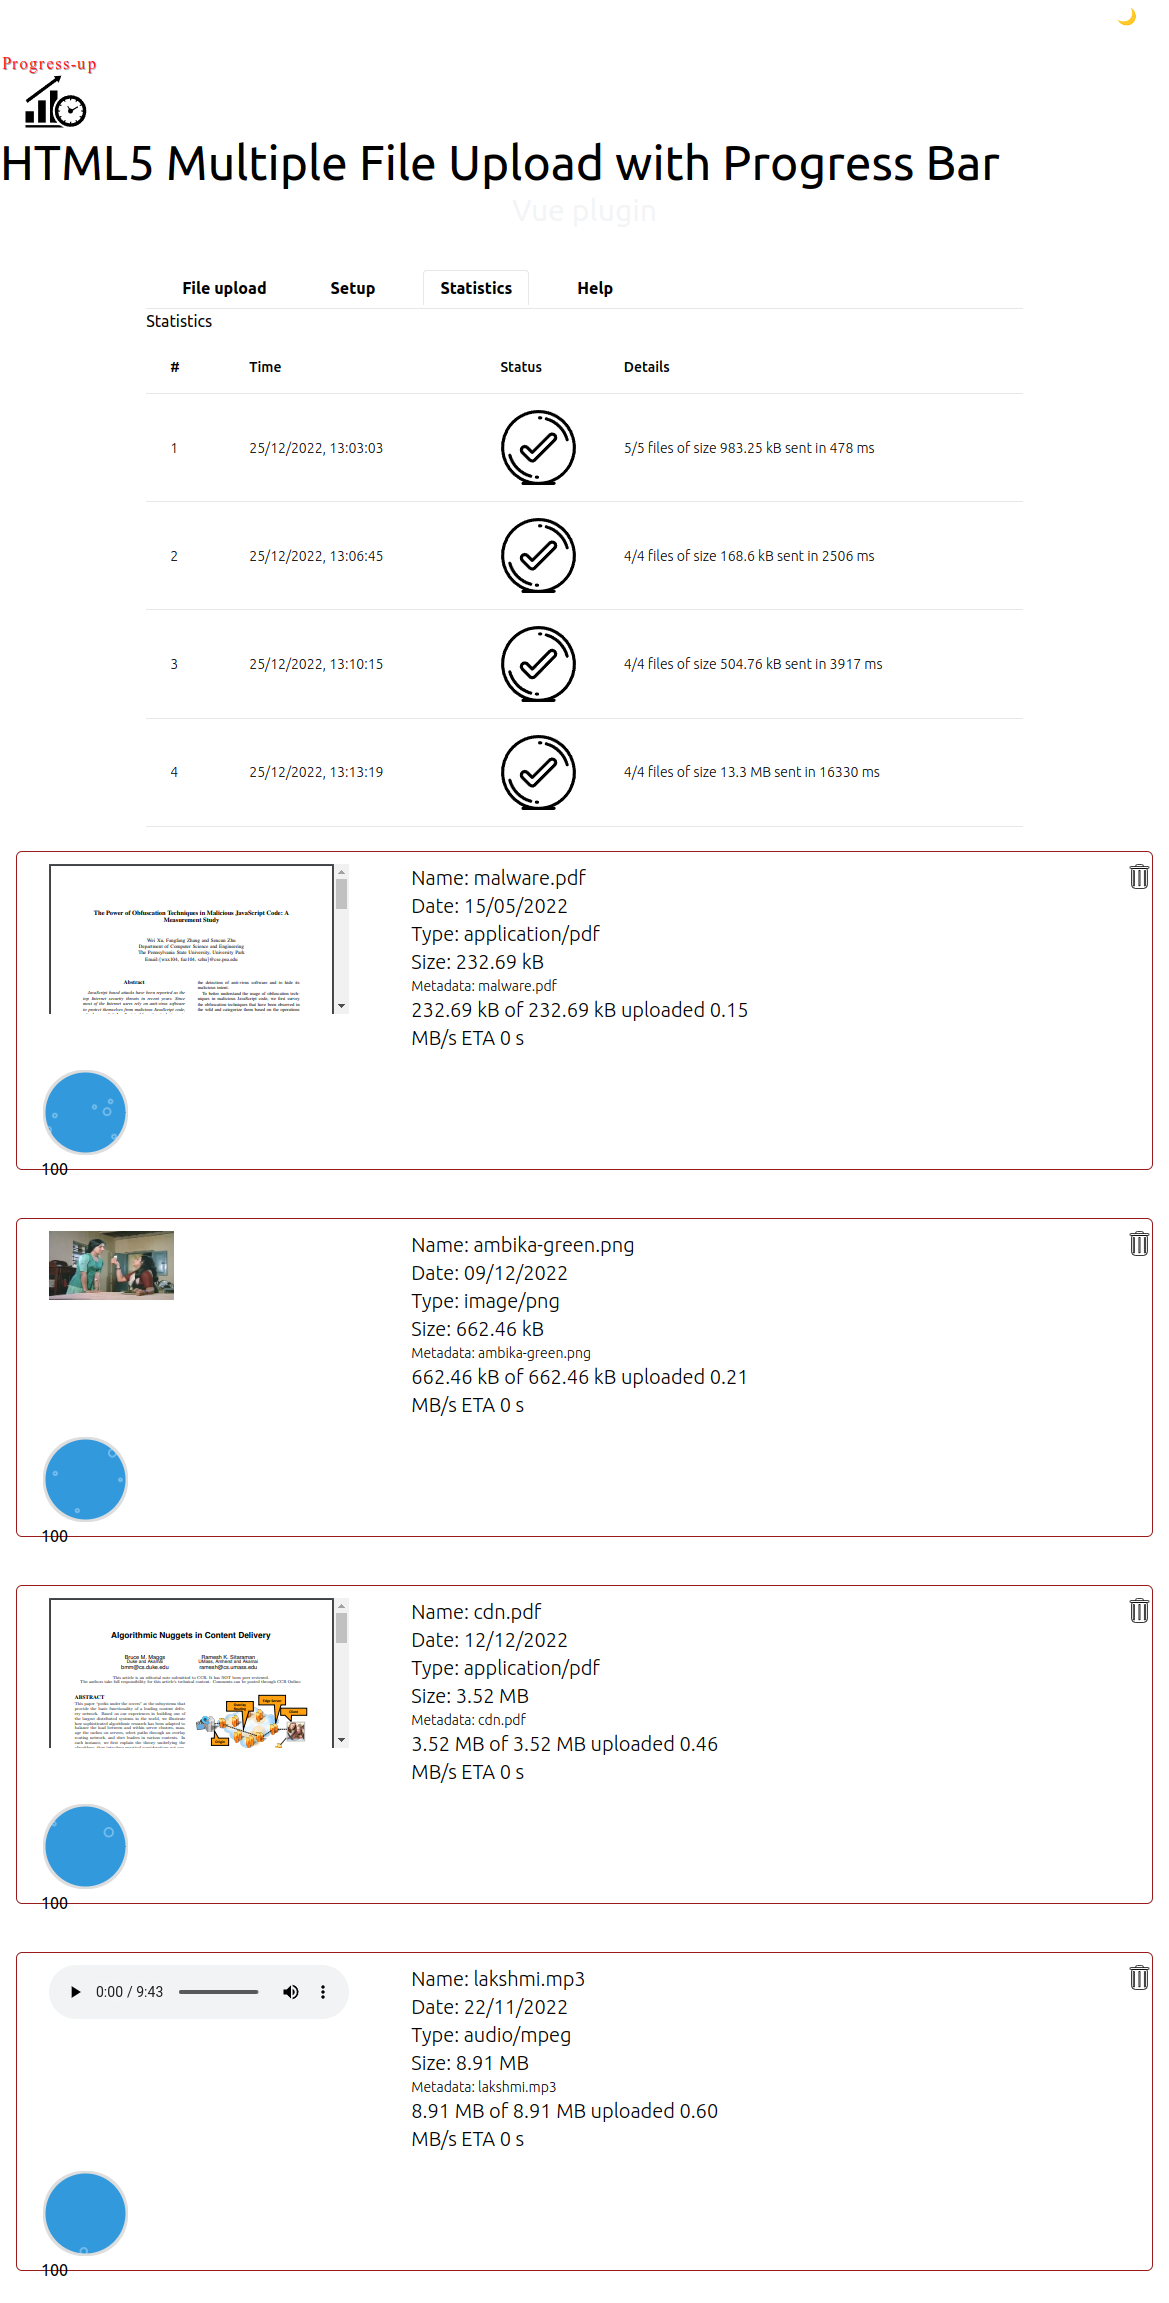
Stats tab
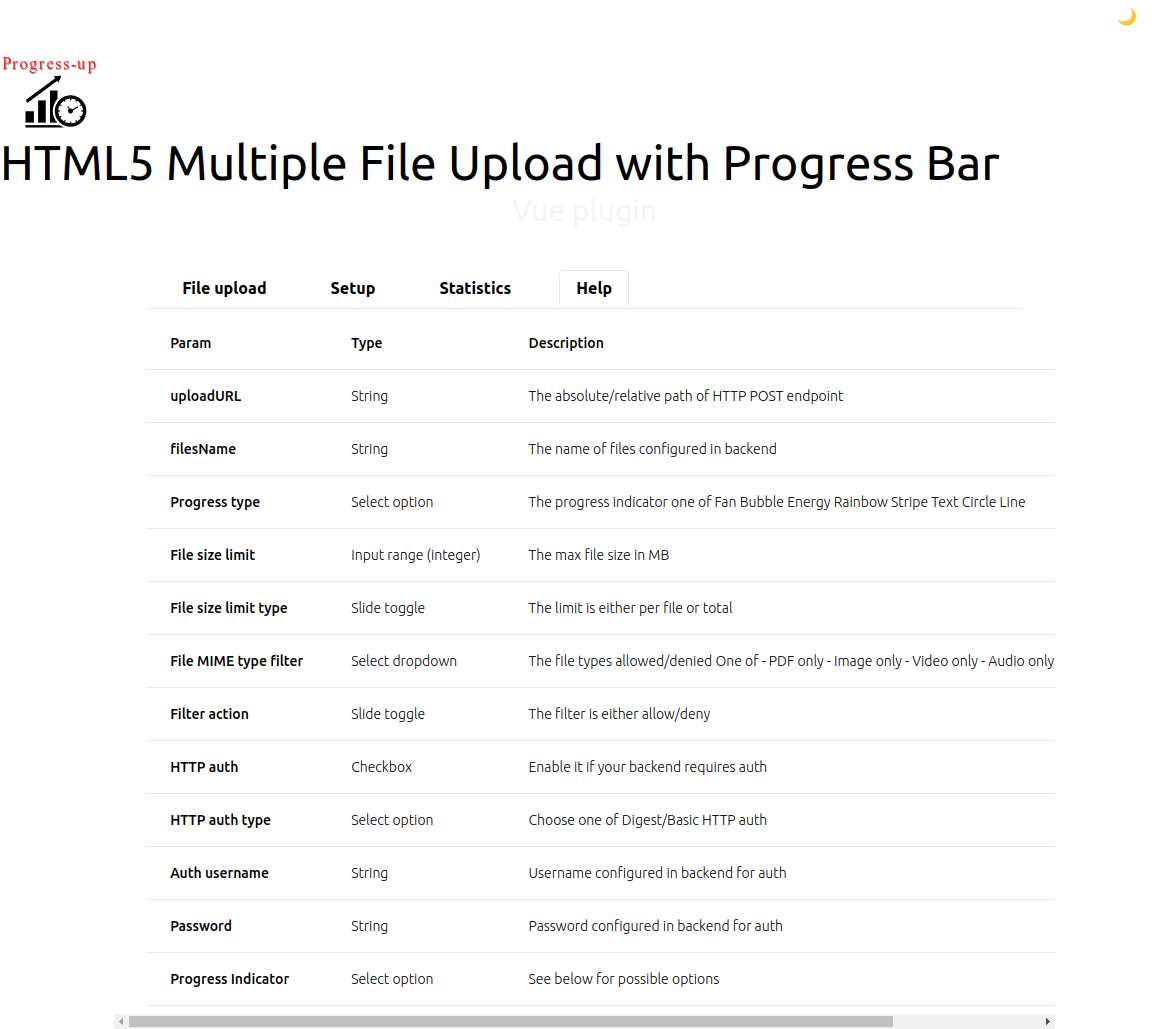
The Help tab
The help tab serves as a quick reference for those new to progress-up.
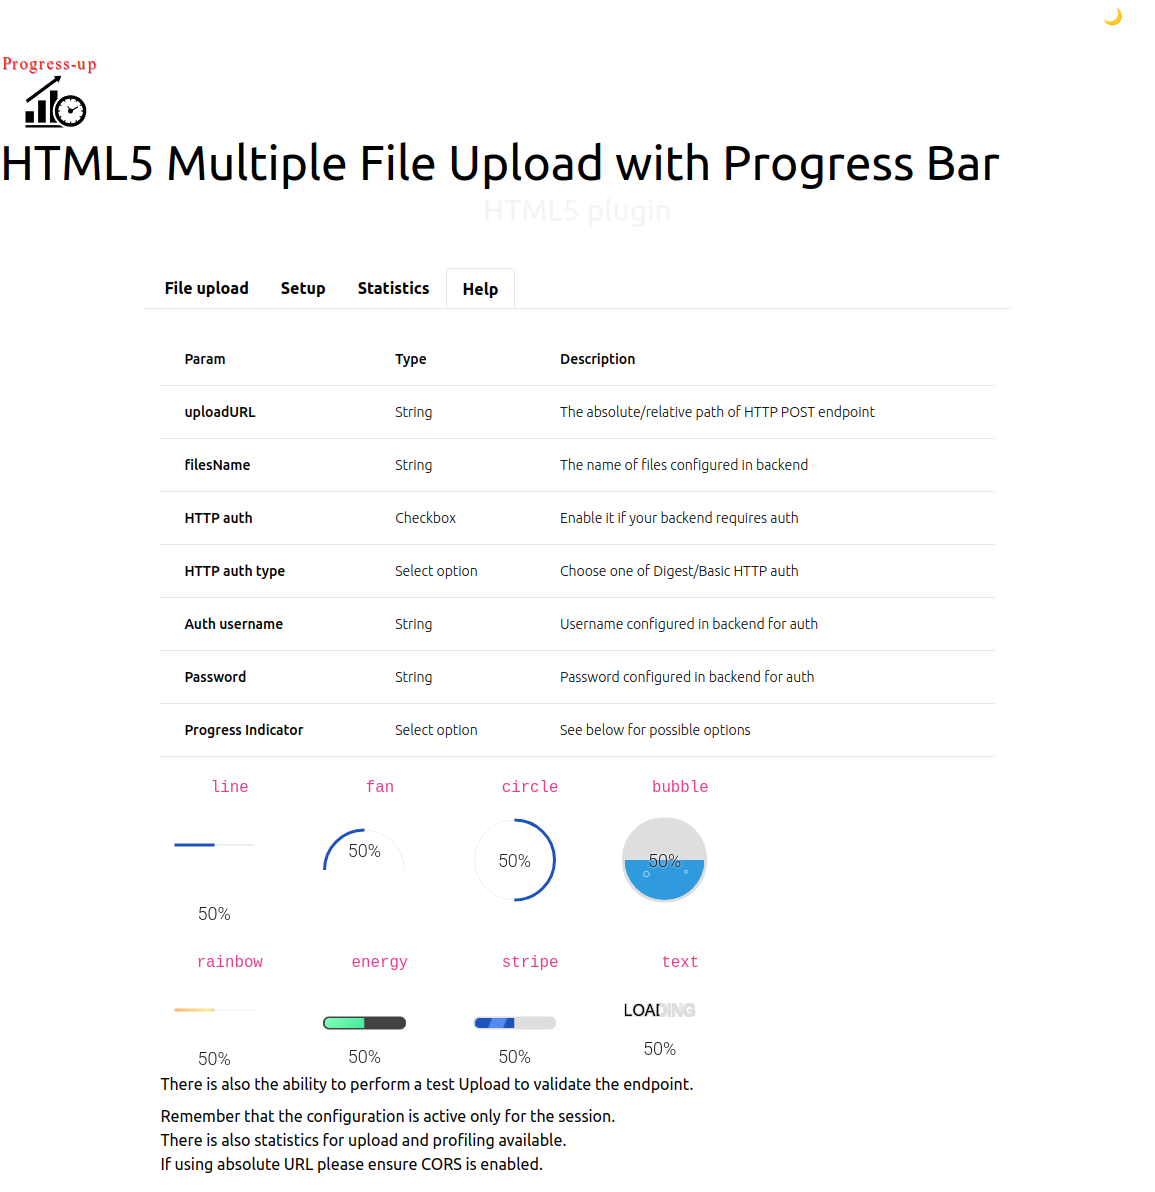
Help tab
Documentation
- Angular plugin setup and usage
- Vue.js plugin setup and usage
- React plugin setup and usage
- Svelte plugin setup and usage
Browser Support
We aim to support recent versions of Chrome, Firefox, Safari and Edge.
This is the tab where you drop files using Drag and Drop or using a file chooser. You can drop any number of files. You can reset the file selection using the reset button.
The `begin uploading` button will show up only when the backend configuration is available.

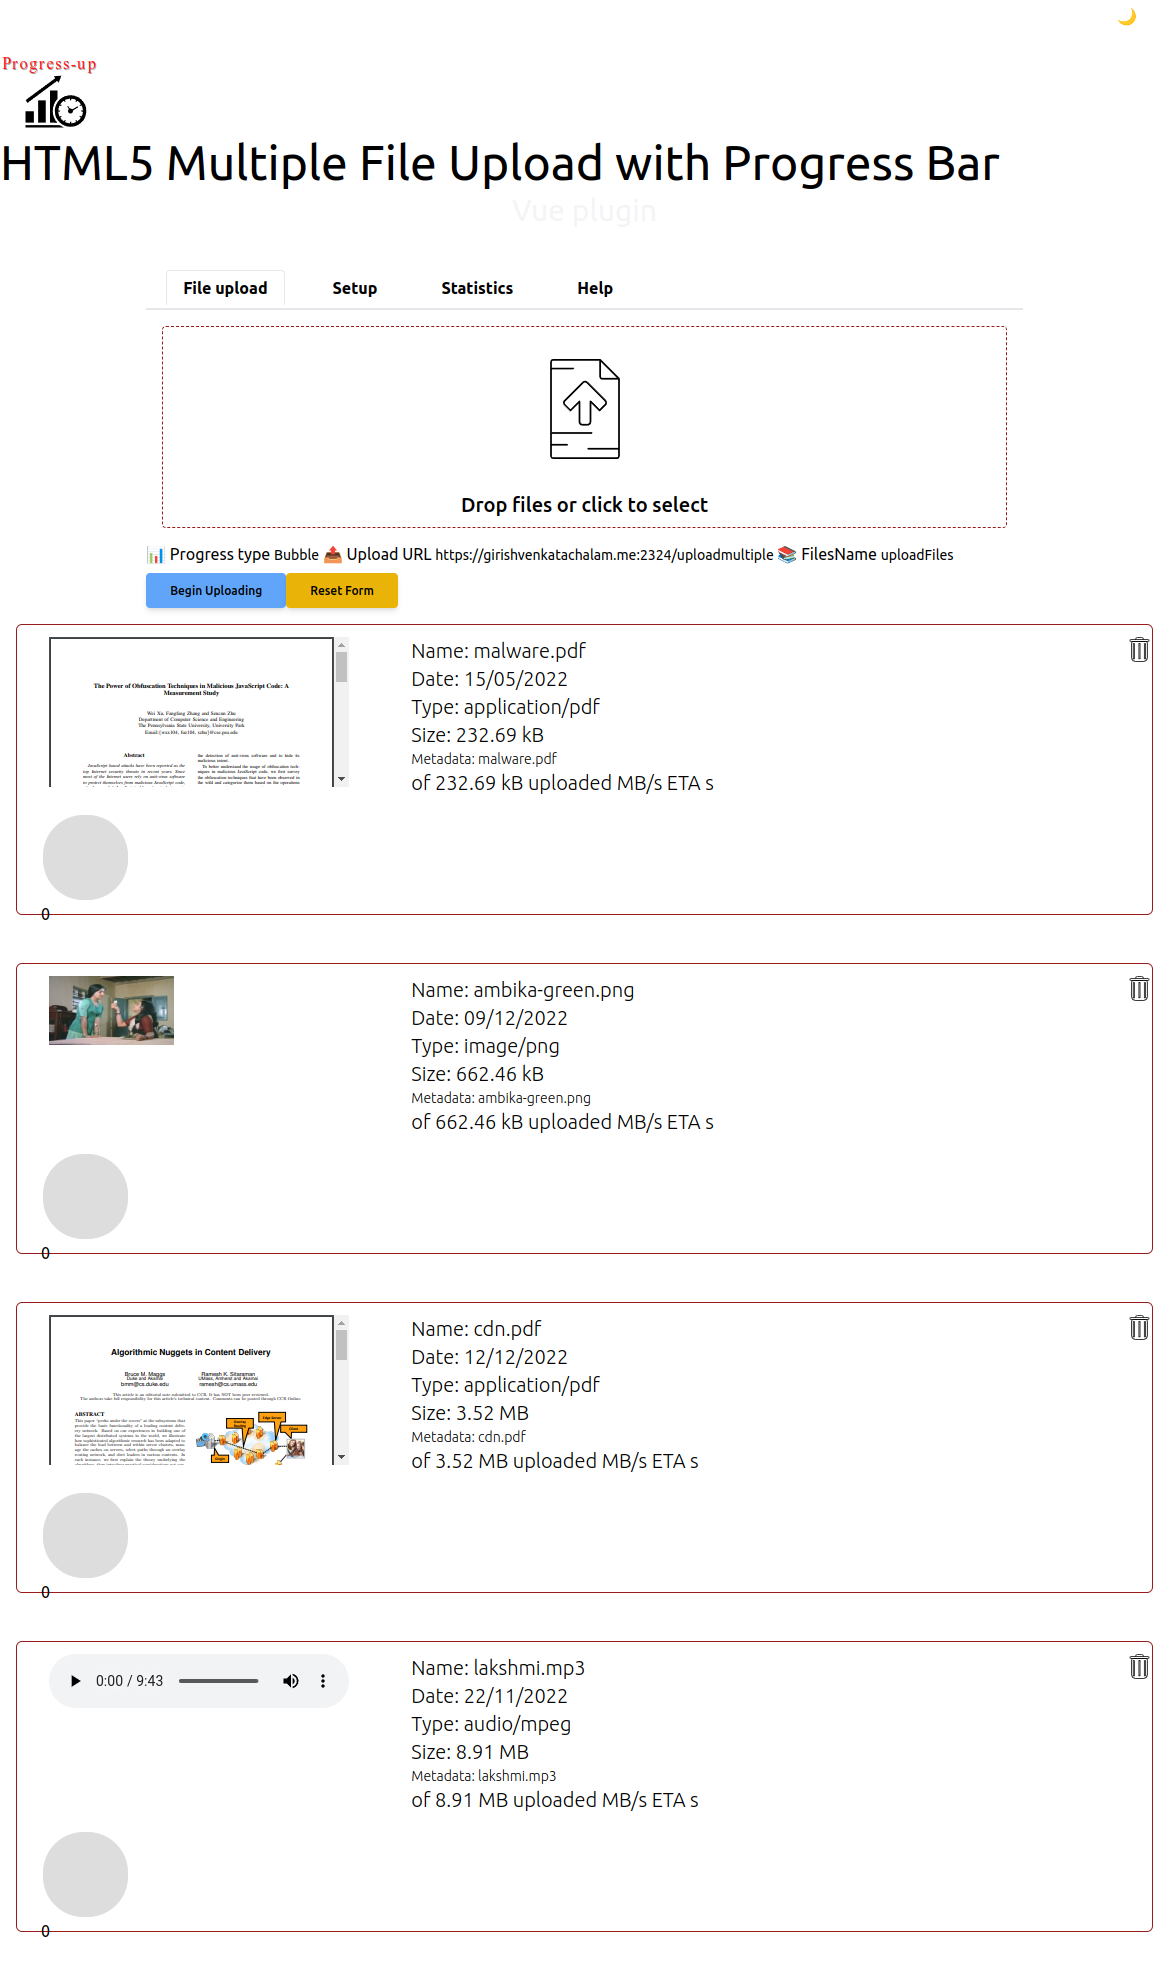
The file preview is the highlight of `progress-up`. Each file type is shown with videos and audio files shown with ability to playback using HTML5 audio/video.
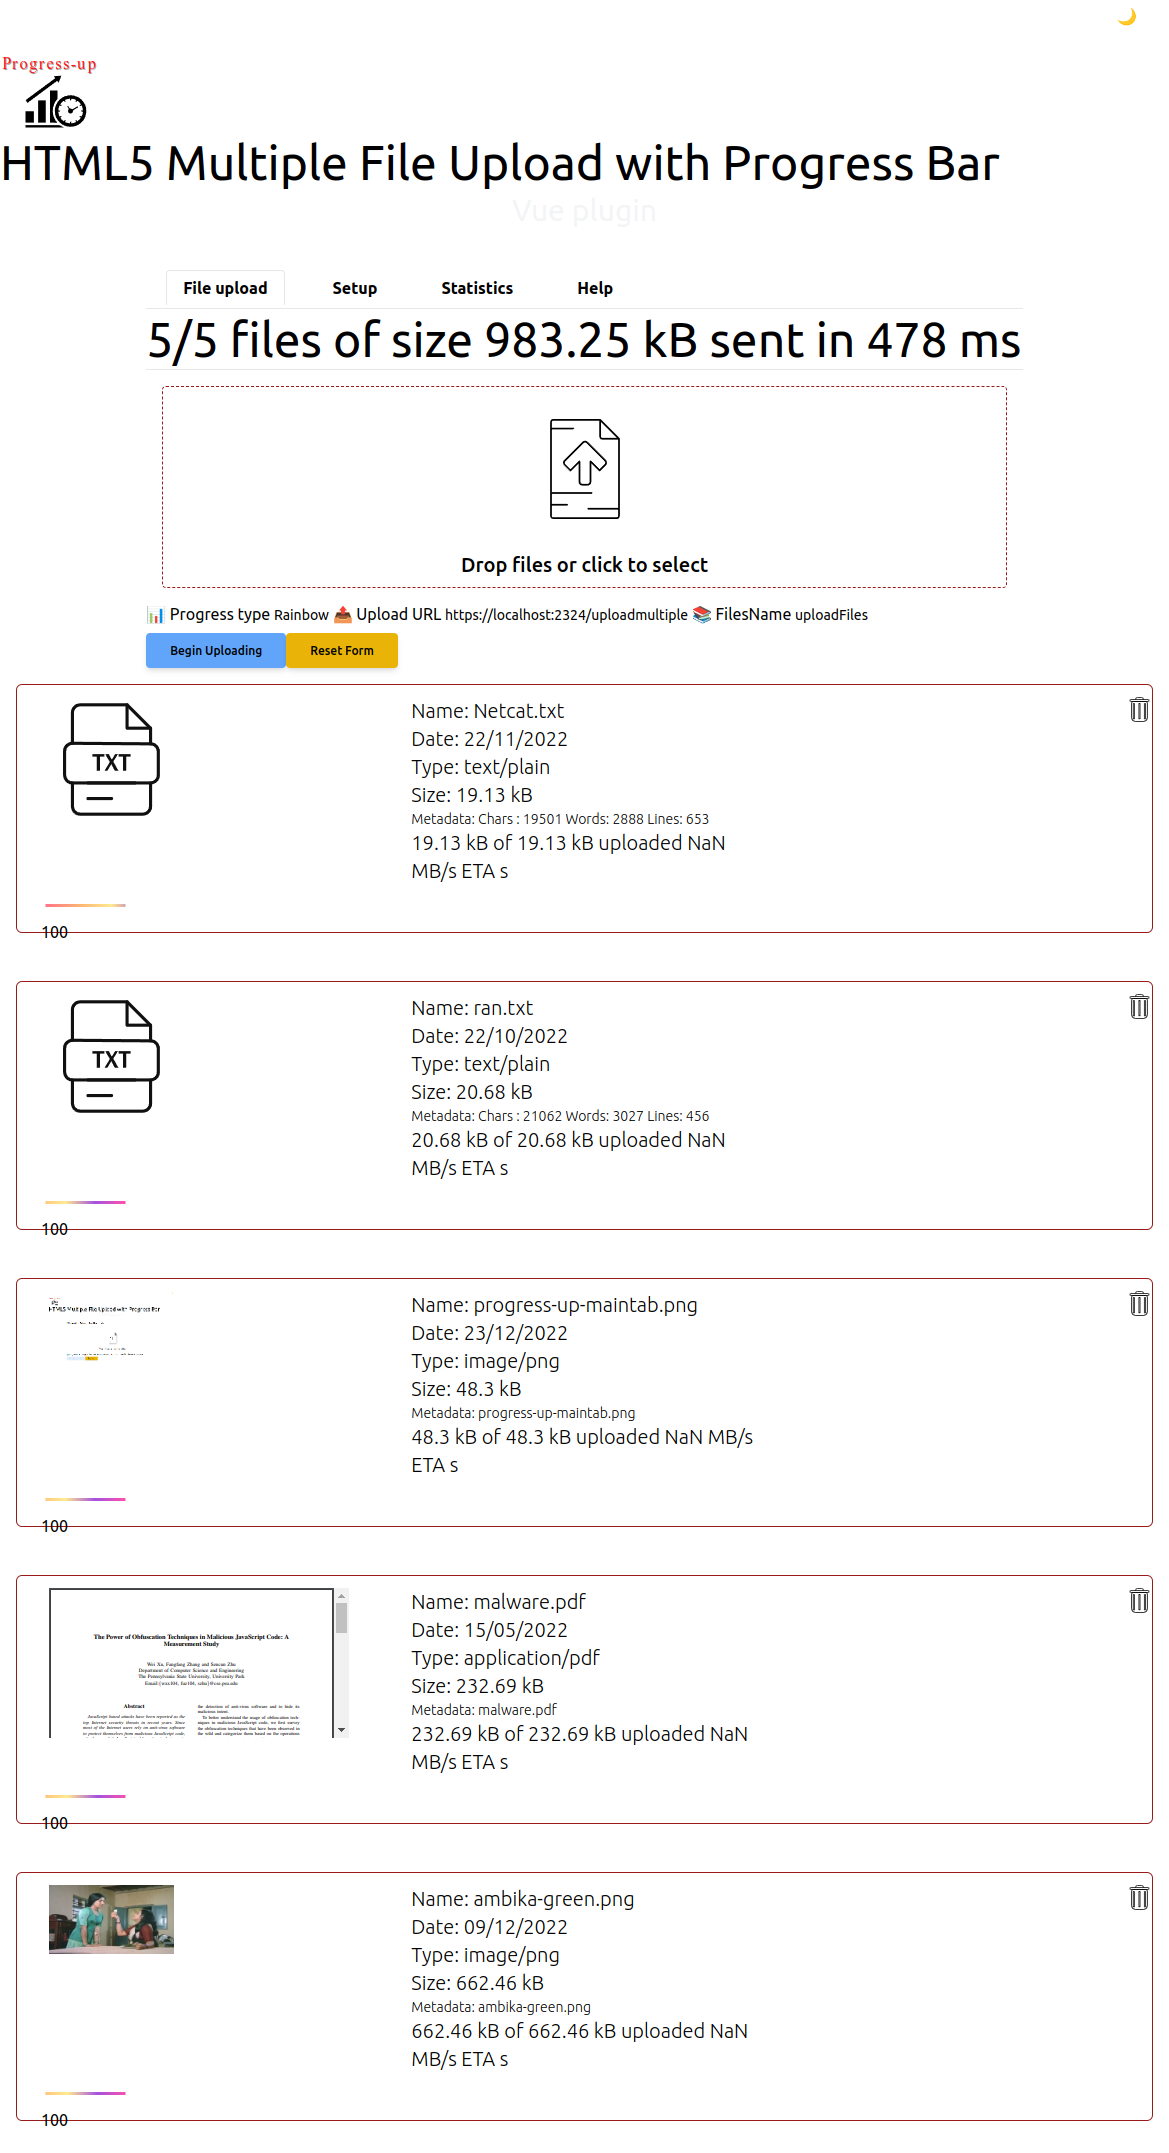
The statistics tab displays the total files uploaded, the time taken, the number of times the uploader was invoked for this session.
The reset form does not clear the stats display.

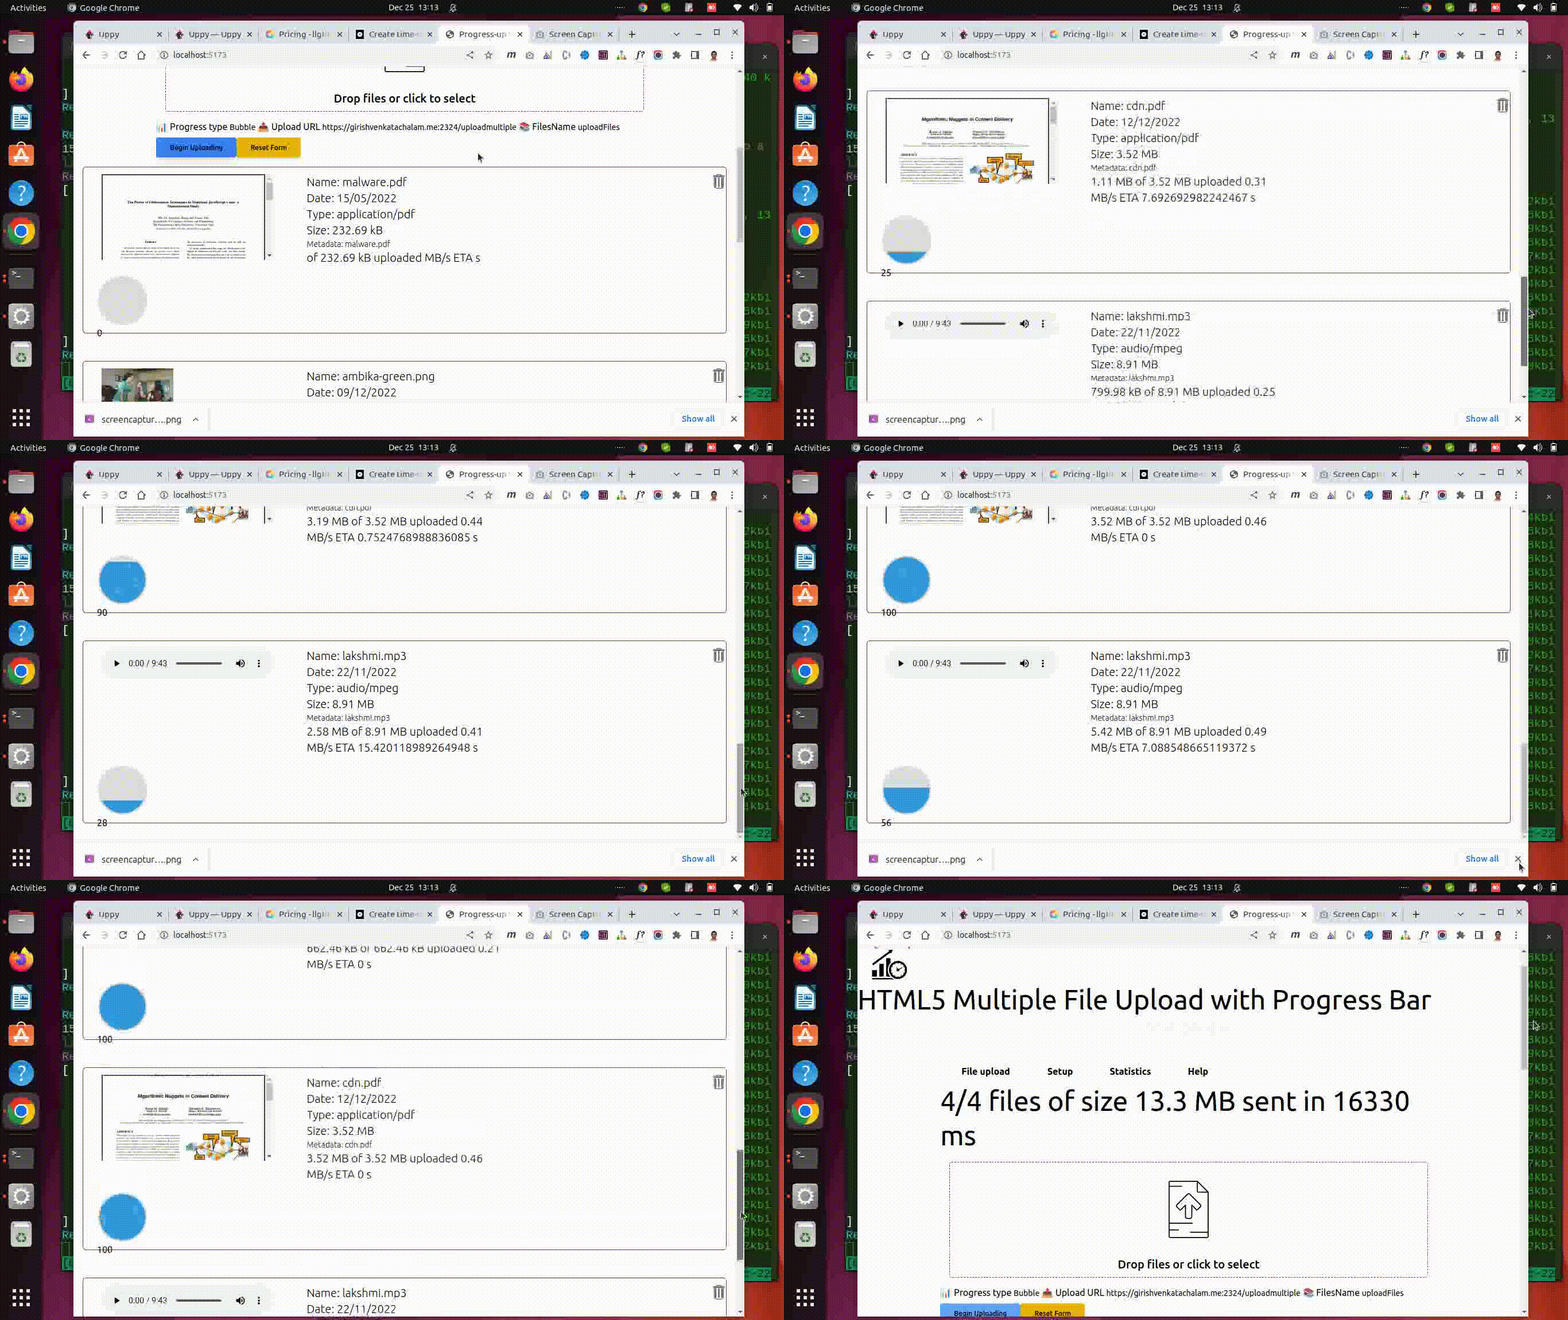
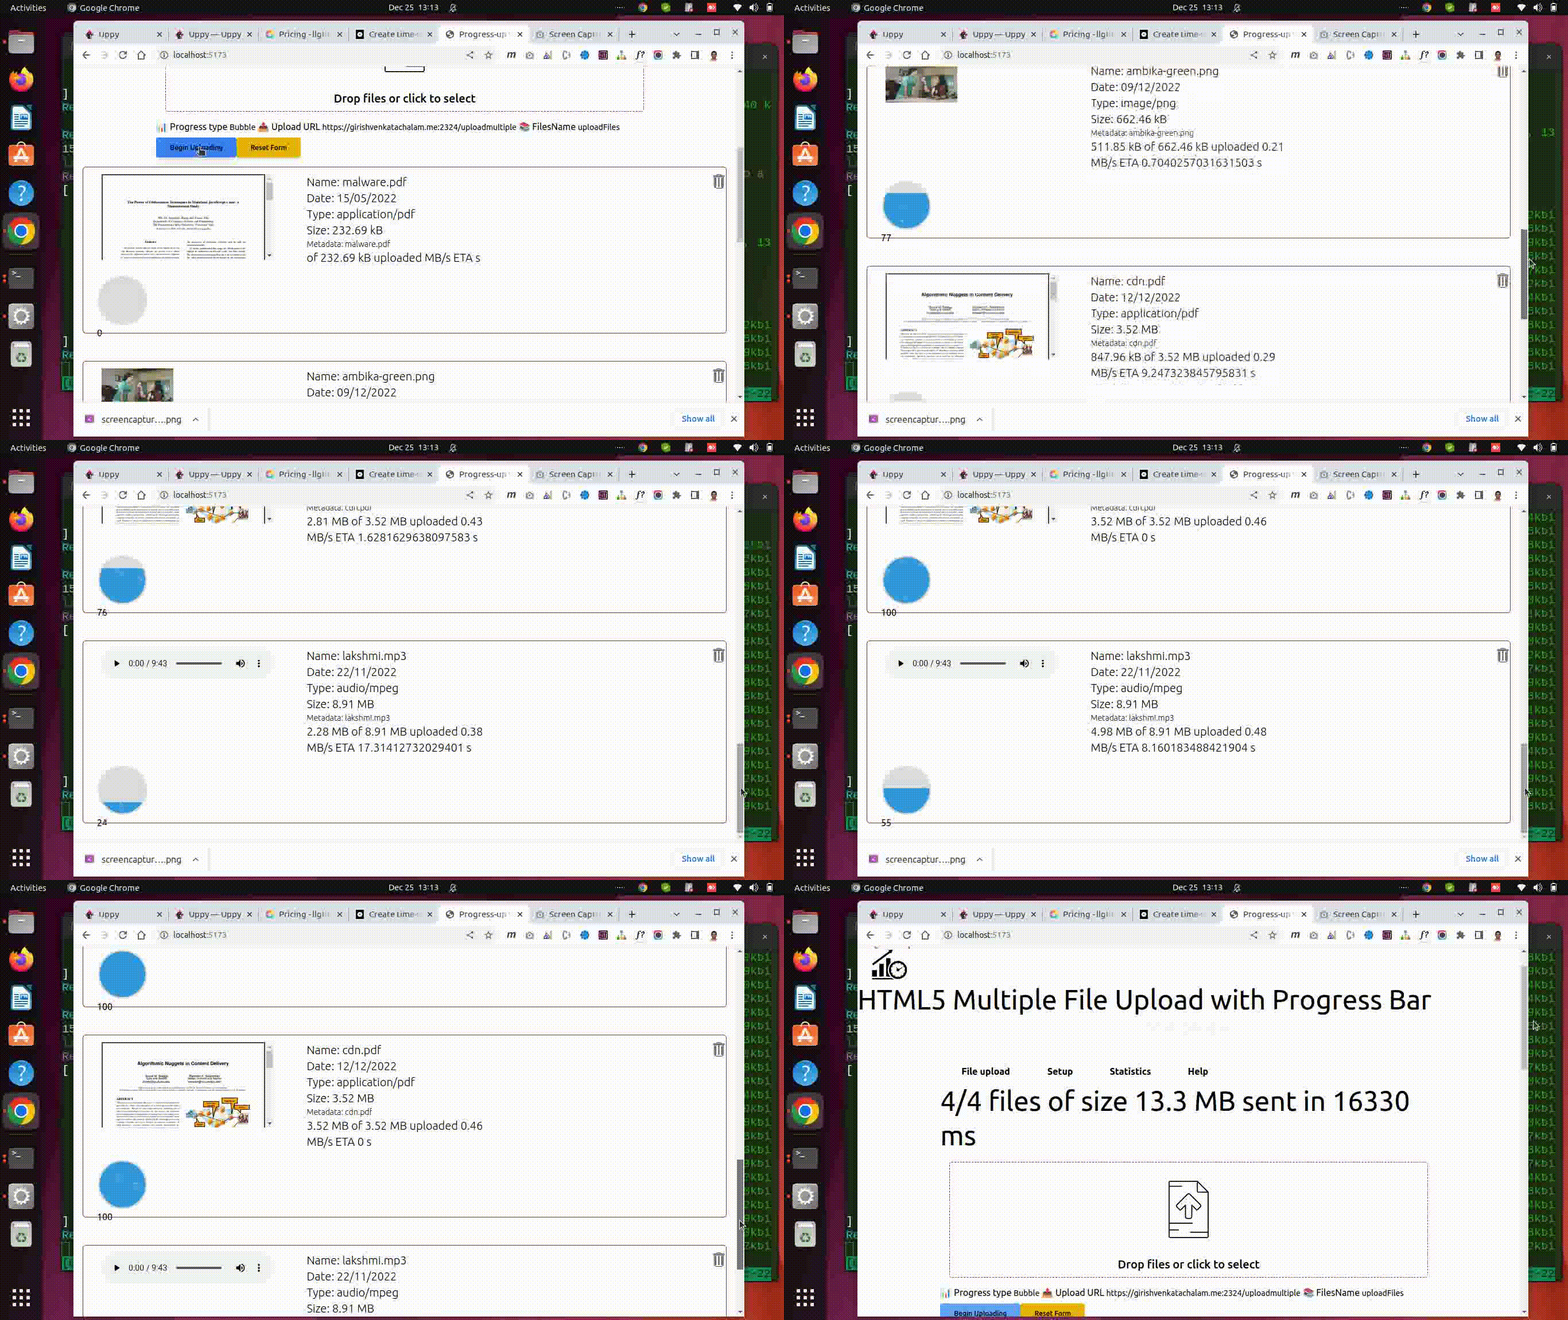
This is the video of the progress bar updating.
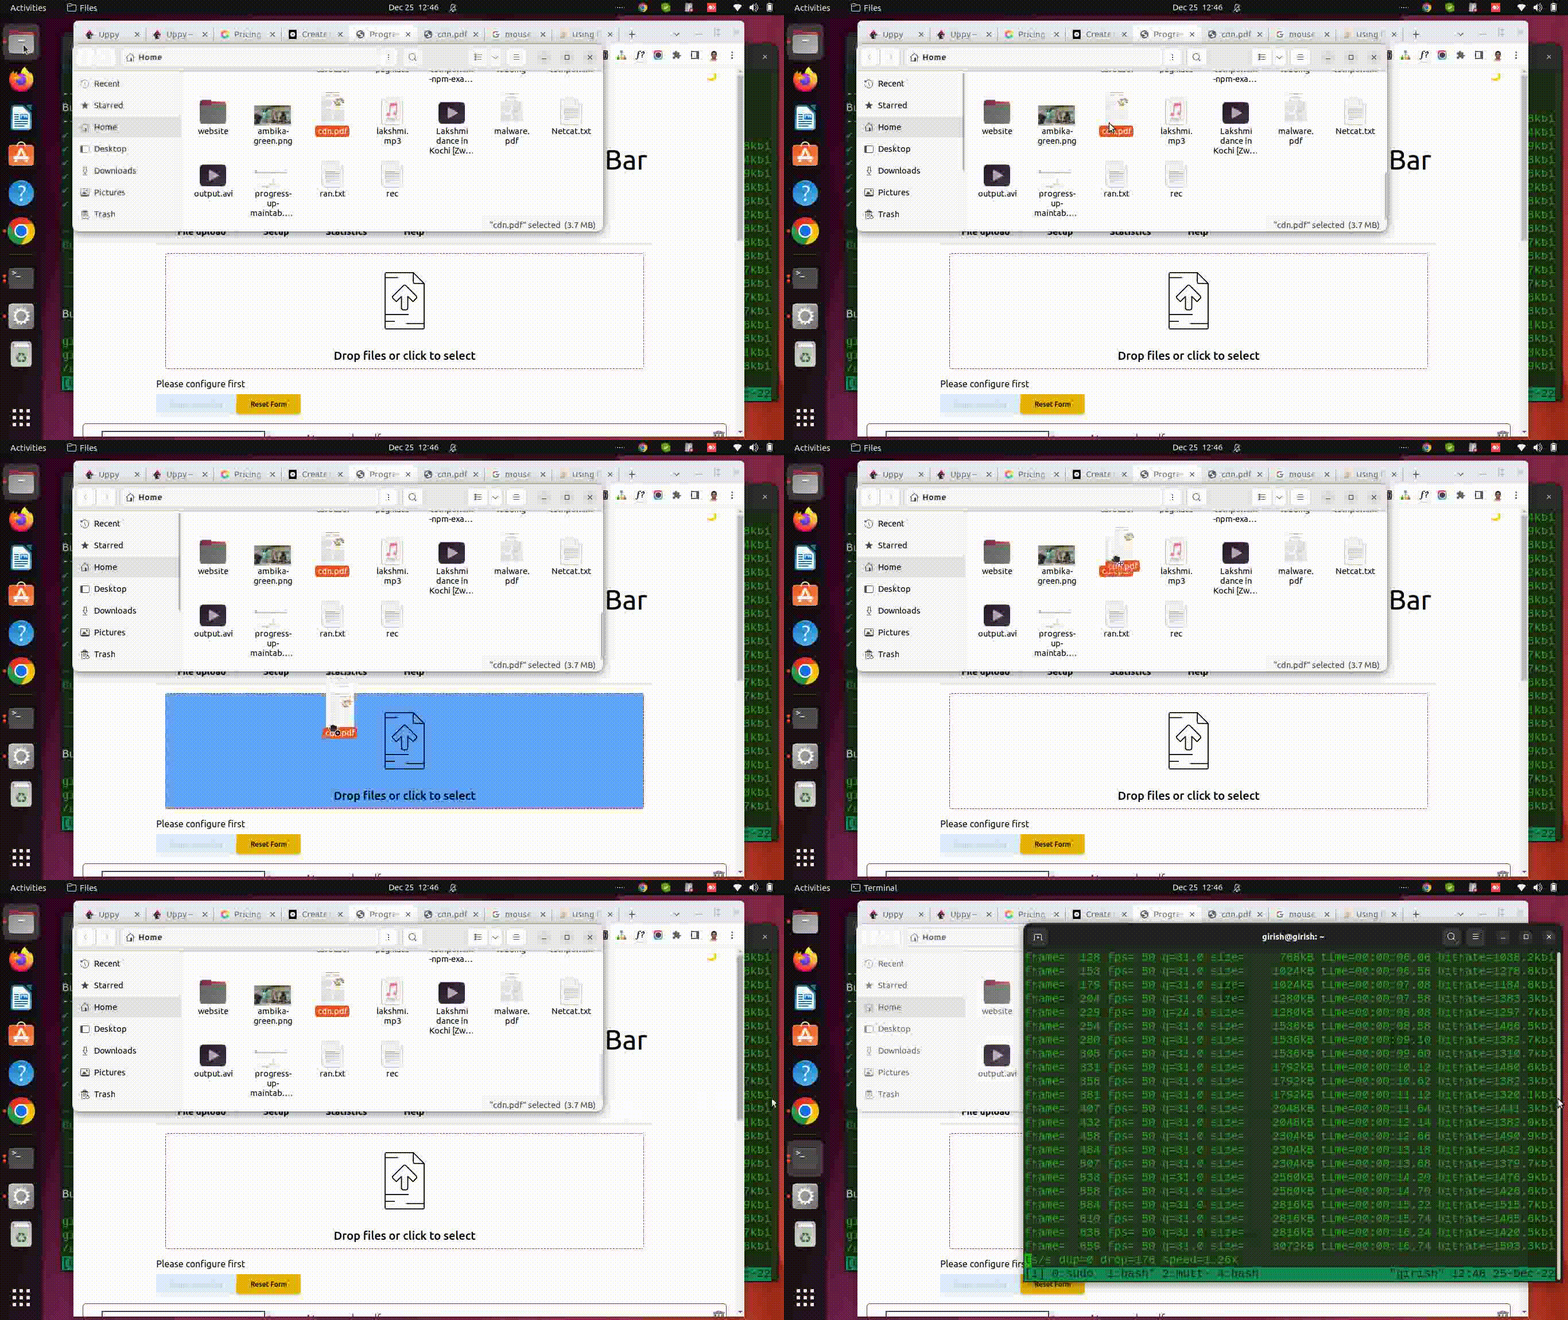
The drag and drop works by showing a blue background when files are brought into drop area.
Drag and drop is standard in all uploaders these days.
A video demonstration of the upload process.
You have 10 types of progress indicators. This video illustrates one such display.
Progress-up supports MIME and size filters to disallow certain file types from uploading.
Such files are shown in preview but not uploaded.

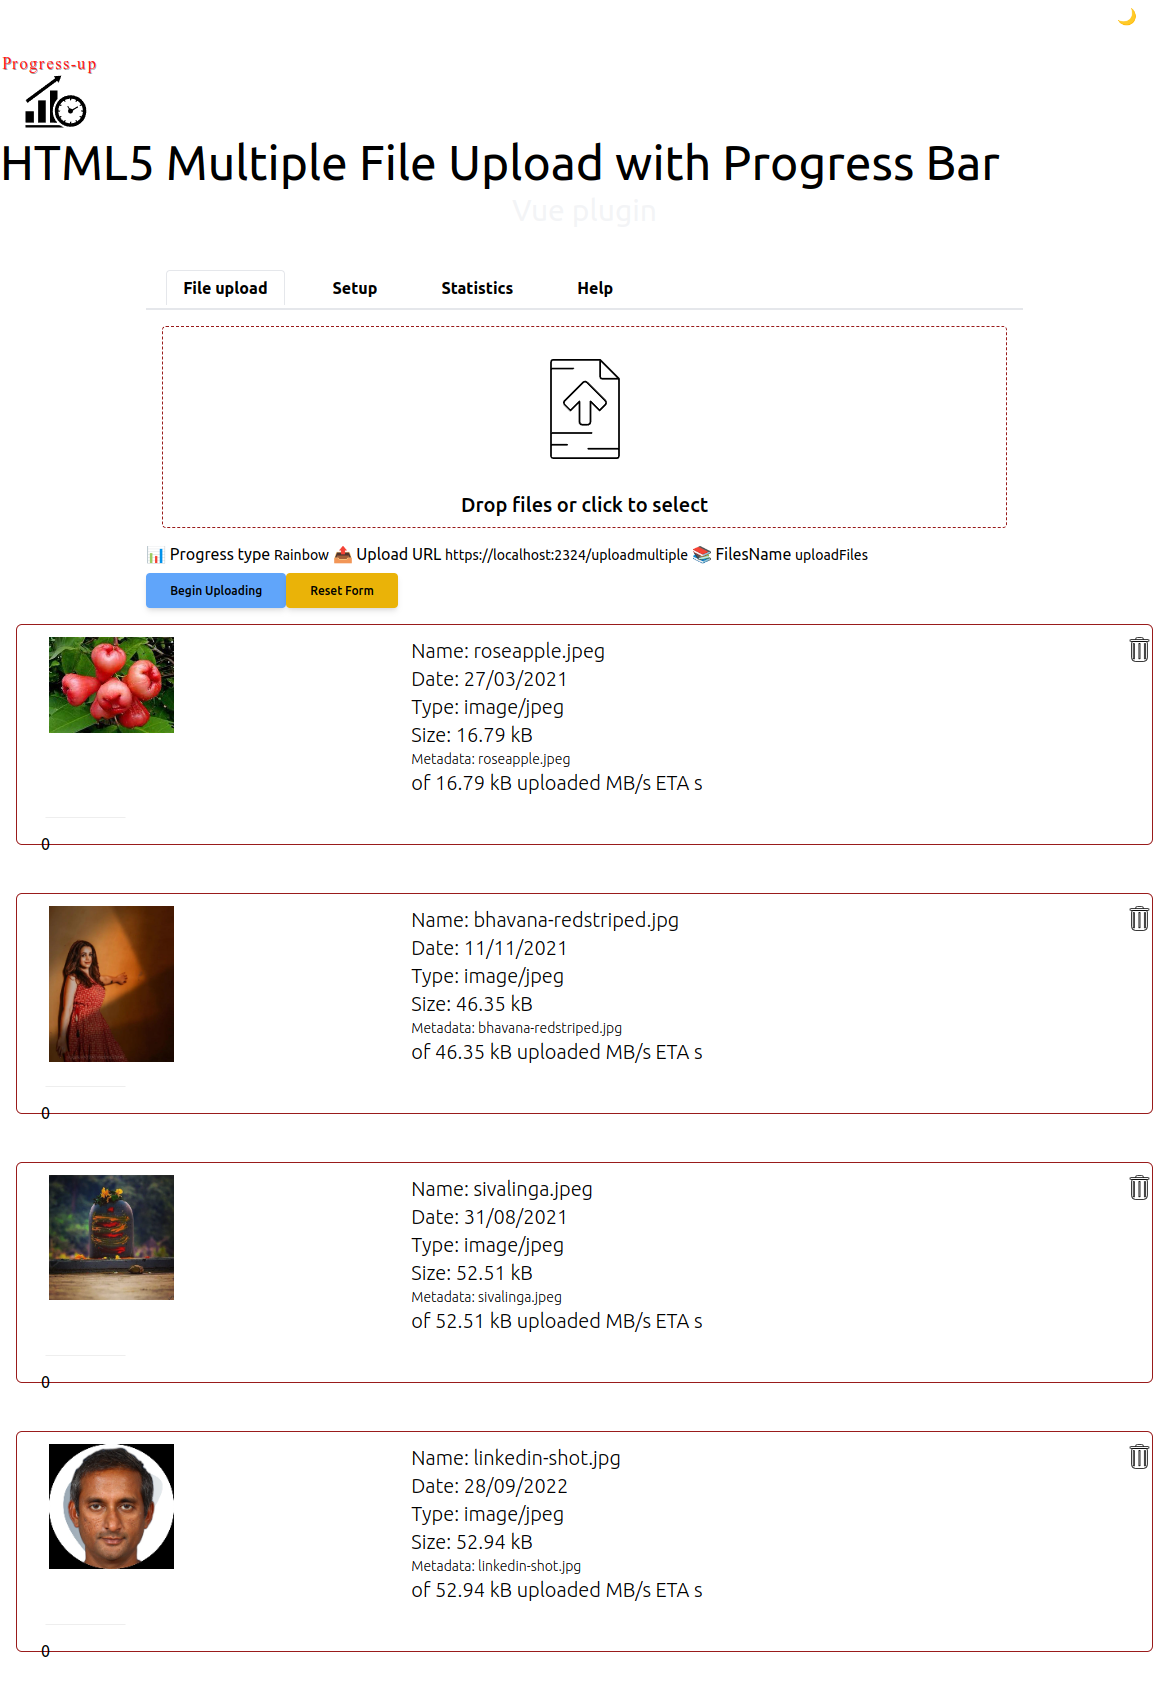
The main functionality of the progress-up uploader is preview. So this screenshot illustrates how you can see exactly which files are queued for upload.
For text files you can hover over the icon shown to see some portion of the text. Preview works for all known file types.
You are free to delete the files you don't want to upload by clicking the bin icon on top right corner of each file preview section.
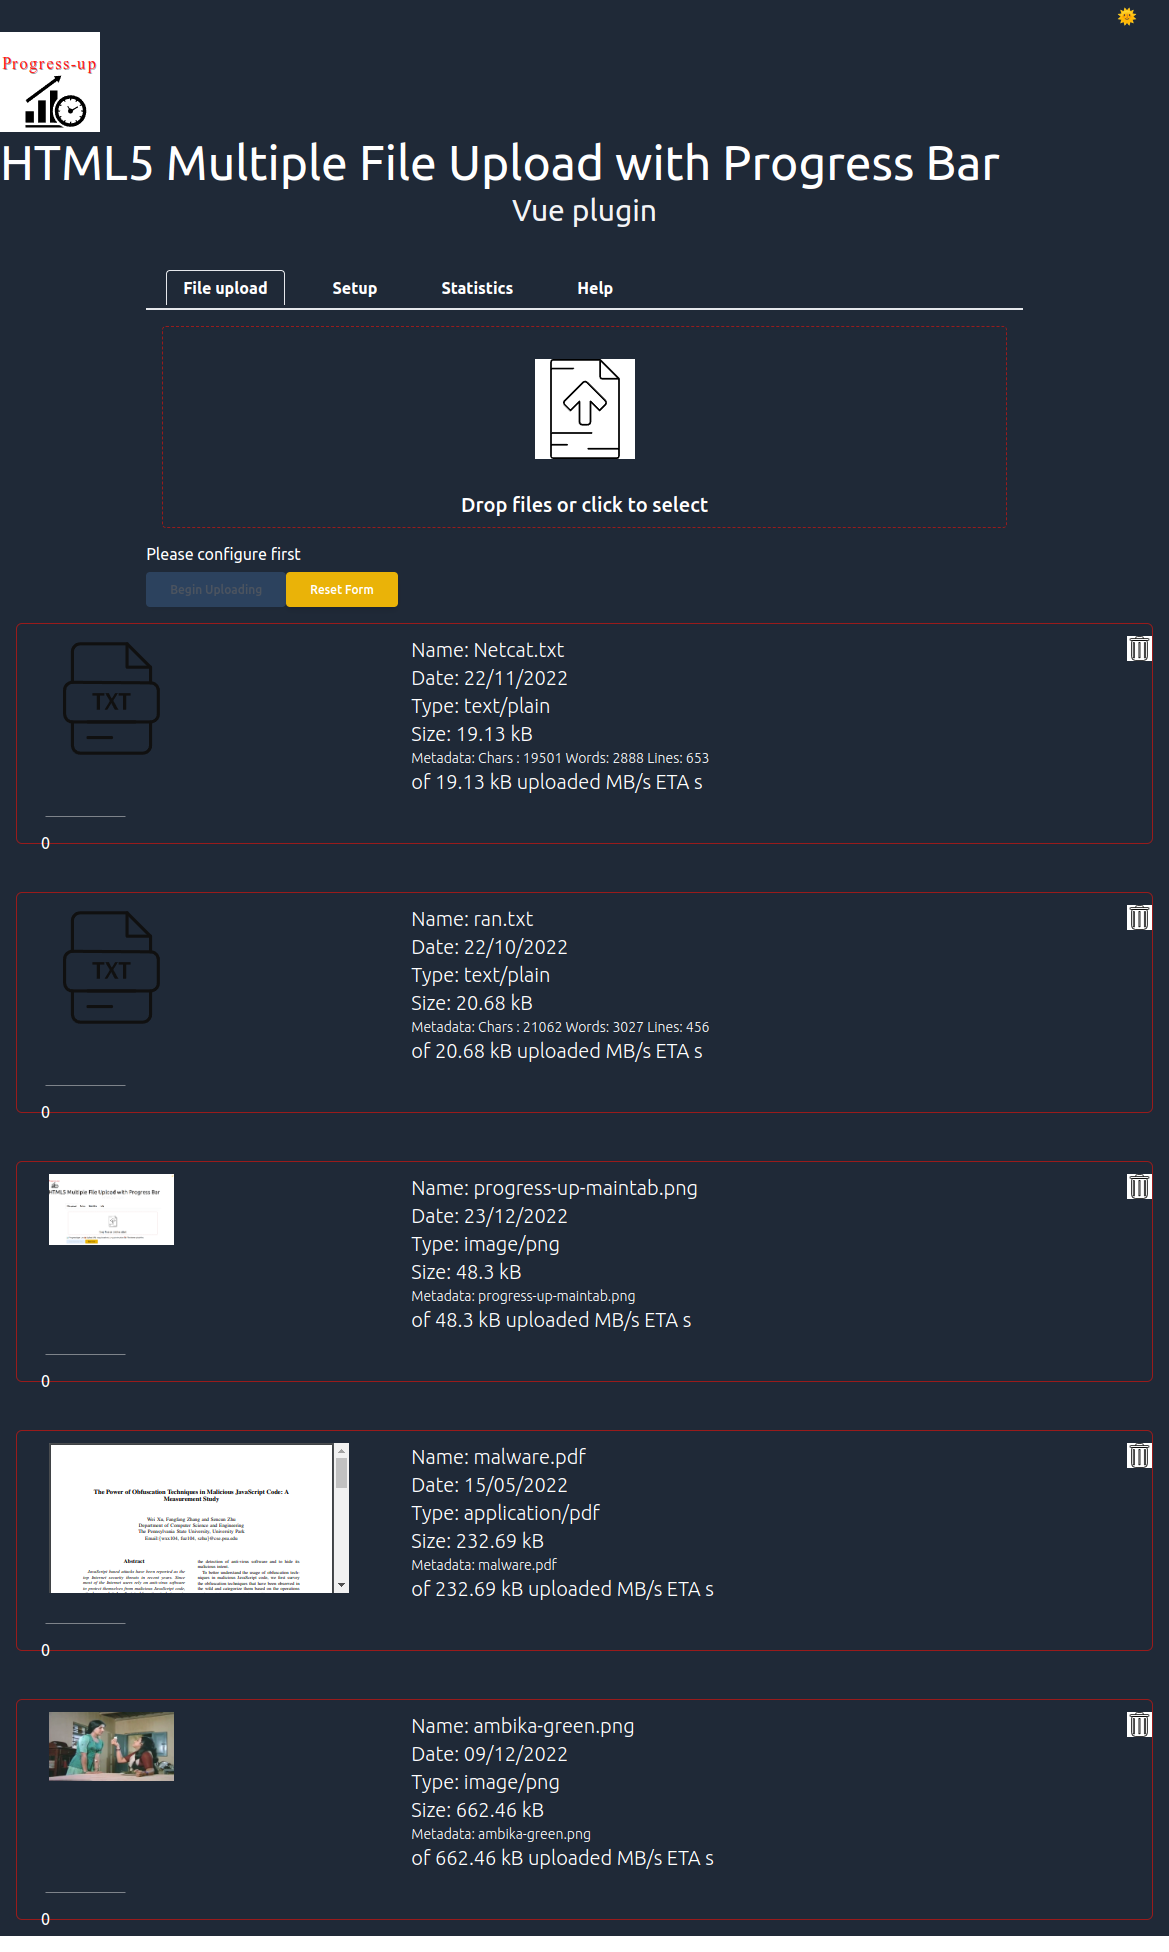
This is dark mode being shown. You can click at the top right corner sun or moon to switch to dark or light mode.
This view shows how the files after uploading show up in the uploader. The statistics shown at the top calculate the throughput and also displays the success and failure status of each file queued for upload.
If you have banned files they won't be uploaded.
The help tab shows you how to use `progress-up` explaining what each tab and fields stand for. Most things are intuitive as it is a simple interface. But this tab should clarify some question about some configuration parameter.
This is how you setup the file uploader plugin. Just determine the policy for upload, the file size you like the mime types you allow, the endpoint URL, the name of input field and you are pretty much set.
To check the upload protocol, it is better to run a test upload to ensure the setup is working.

You can preview any file with as much detail as possible. This is a nice way to ensure you are uploading the right files. Preview is available for every file type around with maximum information shown `before uploading`.
